About this deal
This means that there's a good reference and us unpaid helpers dont have to waste more time just typing out the same thing over and over and over and over and over again.
Once the fan is positioned, the next task is to get it wired up. A suitable length of cable is cut to run from the 3-pole switch out to the fan. As with the steps above, either a shower isolator switch is used that is normally installed outside the bathroom above the door or it’s possible to use a 3-pole pull cord switch that is usually installed in zone 3 inside the bathroom. When connecting up, its necessary to ensure the brown is connected to the permanent live terminal in the junction box and the common (C) in the switch, and the blue cable (sleeved brown as it is not being used as a neutral but as a live conductor) is connected to the SL (switched live) terminal in the junction box and L1 in the switch. Again, if you are working on the ground floor then you may need to pop up some floor boards from above to run cables and access existing lighting circuits. Finally, connect the pull-cord switch that wil be used to turn the fan on and off into the junction box using normal 2-core cabling as with any other light switch.From the fused connection unit the installation must then have a 3-pole isolation switch that provides at least 3mm of separation on ALL live conductors when the switch is off. Again, if installing a axial fan through the wall you may need to chase out a section of wall to run the cable to the fan.
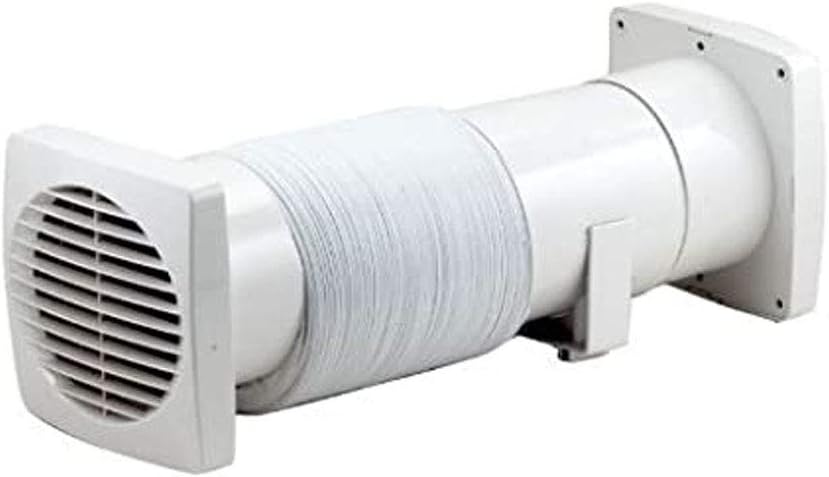
If installing an inline fan, this will need to be positioned and screwed down to a flat and level surface, ideally between the point that air is being extracted and then being expelled. When connecting up the pipework make sure that you first tape the pipe to the fan body using aluminium tape and then also screw up a large jubilee clip around the pipe. This will ensure a full and compete seal. As we have stated above, if an extractor fan is being installed from scratch then this will need to be done by a qualified Part P registered electrician. However is you are simply replacing an existing broken unit then you are able to do this yourself. If however an axial fan (one through the wall) is being installed this will need to go on an outside external wall.The final job is to then do the finishing works. If you have created any chases these need to be filled. Before anything is done at all the very first job is to isolate the power to the circuit you will be working on! This means pulling out the fuse or turning off the MCB for the lighting circuit the bathroom light is getting power from. If this is in a ground floor bathroom, you may need to pull up some floor boards to access and wire up.
However, I would probably still have asked the question as the diagram quite clearly states that the set up described is not for a bathroom and not wishing to breach some huge safety aspect I would have posted question anyway. Extractor Fans with an integral timer or timed switch need a 3-core and earth supply to allow the unit to run on after a light is switched off. An extractor fan is an essential part of any bathroom as it helps to remove the excess moist and humid air produced by the shower and keep any condensation build up to a minimum. The instructions state that it can be operated by connecting it to a light switch so that the fan will start when the light is switched on.In terms of each end when installing an inline fan, you will need both internal and external extractor fan vents. If you are installing an inline fan then you will also need to install the associated pipework that will carry the moist air from the source to the outside. If you do this for plumbing and it goes wrong you get wet and annoyed. If it electrics you might not live to regret it.
There are several types of pipework but generally it’s best to use the PVC type as when using the aluminium round duct, the fan can echo through it when running creating quite a bit of noise, whereas the PVC type is generally silent. However, if you are simply replacing an existing extractor fan because it’s broken down or failed then you are allowed to do this under Part P. Please be careful taking advise off any Wiki, book or Forum before undertaking your own wiring if you are not 100% confident. When it comes to electrical work in the bathroom, as this is regareded as a “special location” by the regulations, any electrical work can and should only be carried out by a Part P registered electrician so that it is ensured the circuit is installed correctly and to regulations standard, can be fully tested once complete and finally a minor works certificate can then be issued to sign everything off. Does it mean that I have two live feeds going into the light switch, one for the light and one for the fan?For completeness we will also cover how a standard bathroom extractor fan is wired up to it’s own switch and not an existing light switch. Wiring a Timed Extractor Fan That’s Turned on by an Existing Light Switch This wiring diagram shows an easy to follow configuration for a bathroom extractor fan fitted with a timer, that’s not going to be turned on by the existing light switch. Instead, we are going to install a new switch that will turn the fan on and off.
 Great Deal