About this deal
hood pieces of fleece 10in x 11in; if choosing different prints, make 2 hood pieces of each print (We love JoAnn Fabrics, amazing coupons!) STEP 12. Sew on decorative trim. Line up the trim on the top stitch on edge of poncho body. Slowly sew down the middle of the trim onto the top stitch on poncho by using your fingers to feed it through evenly. This will take time and if it makes it easier for you, pin first. Continue all the way around and overlap by ¼ inch or so when the ends of trim meet to prevent a gap. Follow instructions. Step 13. Decorative Applique After sewing, using & selling these adorable SAFE car seat ponchos for over half a decade, we decided to share our original recipe with you! This is where it all started for us. We designed and tested many versions of this poncho over the years and wanted something simple and effective. Now we laid out all the steps and took pictures so that you can make them yourself in our car seat poncho step by step tutorial guide; a very easy DIY project that you can perfect in about an hour. That said, you could make one every year or two that is the perfect length for your child. You just cut the circle to the length you want the poncho to fall to (ie. measure to knee and use that number- if it’s 15″ then you cut to 15″ instead of 23″).
After you grab the pattern print out your desired size. I suggest size 2 for children 6 months to 24 months, size 4 for sizes 2T-4T and size 6 for 4T-6. In my opinion the height chart in the pattern is more accurate than the suggested ages. Assemble the pattern according to the directions in the pattern tutorial.Please share your creations with us! We hope that you enjoyed making this project and came up with some great fleece combo ideas! The possibilities are endless; think baby shower gift, kids birthday gift, Christmas gift, etc. Which patterns and print combinations will inspire you? Lay your pinned body pieces on a flat surface. Grab a measuring tape or ruler and something to mark with. The goal is to make a slit, the long way down the poncho, for the hood. See my picture. If you are using a directional patterned fleece, make sure it is oriented the right way up! Measure the midpoint of poncho from left to right; if you used my measurements this should be around 14 inches. Shift your measuring tape up or down until it is 7-8 inches from the top. To make the button loops, I did a simple chain stitch with a single strand of the tan yarn and a much smaller crochet hook. When all four were done, I tied the ends together around a stitch in the poncho body, so that each loop could slide easily and would be in the right place.
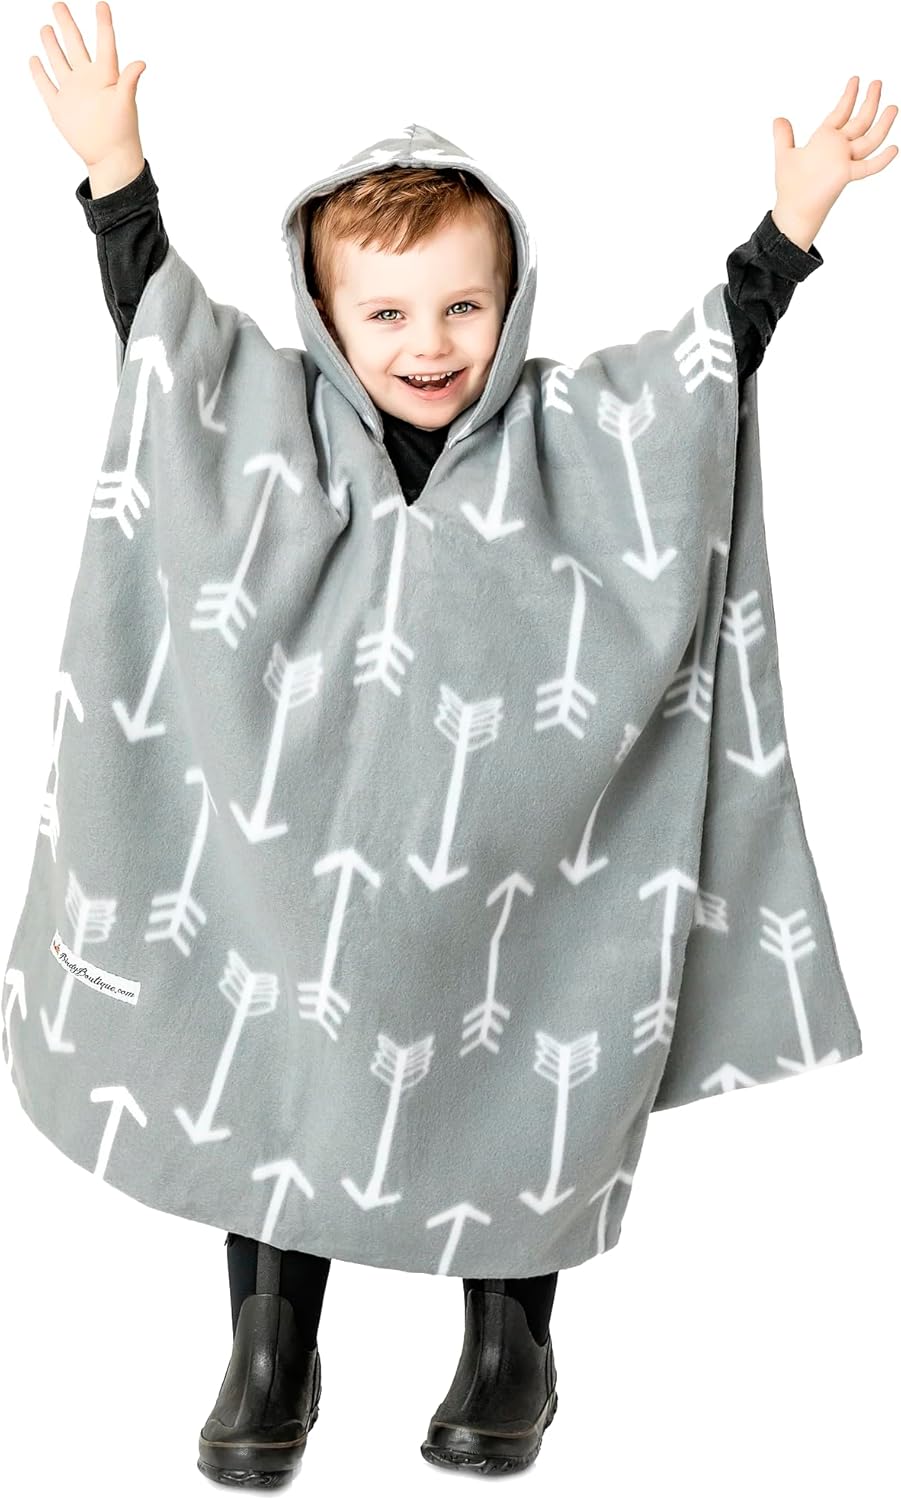
Most parents of young kids know bulky winter coats are not safe to use with car seats. So how do you keep your kids warm without needing to remove those heavy winter coats? With a car seat poncho.I prefer to use the car seat poncho once my child has more mobility. Car Seat Ponchos for Toddlers and Kids And while we are on the topic of pom-poms, please know that you can make them any way you want. Although there are special pom-pom makers, I still prefer to use a simple homemade pom maker like the one in this tutorial. The pom poms I made for this crochet poncho were all made on a 1½ inch form, but for the pom-pom that was going on the hood I wrapped the yarn several more times so that it would be a bit bigger. Finishing This super hero cape goes around the arms and can be reversed to be a car seat blanket for baby! Get the tutorial here. Note: Measurement I used for the length of my poncho was 23″… my video has instructions on how to adjust if needed, but this measurement has worked well for my kids. Howdy friends! I originally posted this Car Seat Poncho tutorial several years ago. But it’s been such a popular post, and SO MANY of you have made these for your littles over the years… I thought it would be worth re-posting!! PLUS, my girl Cypress was sooooo itty-bitty and not-yet-sassy!
Fold the edge of the fleece over about 1/2” and pin every couple inches all the way around. When you stitch this up, TAKE IT SLOW! And just do an inch or so at a time, feeling as you go to make sure everything is staying in place just so. (sorry I forgot to turn the light off on my sewing machine for this pic) Place the pattern on fleece and pin if you would like. I use a rotary cutter but you can also use scissors to cut out the shape. And cut! If you are using two different patterns of fleece, cut out 1 (double) pattern of each design. Step 8. Pin Hood Pieces The solution to this problem is to use a car seat coat. It keeps kids warm while running errands. Your child can be strapped into their car seat underneath the poncho… which means they can easily get it on and off if they get hot (assuming they’re old enough and agile enough to do so). How to Use a Car Seat Poncho Fold the car seat poncho in half to find the center of the front, then cut a slit (I cut about an inch and a half). Sew around it close to the edge just to keep it from fraying. It doesn’t have to be pretty because it will be covered! Then cut a diamond shape out of your fleece material the same width of the opening between the two edges of the hood.
Required Cookies & Technologies
I would go with a single layer fleece. You can finish all of the edges with bias tape. It would be easy to do and be similar to those zippered fleece coats most kids wear for warmer cold days. We always have a parka and snow bibs for snow play at home, but these ponchos are PERFECT for errands. If you want your child to use this as a play coat too, you can add arm openings to the poncho. Lay out your solid color ‘linen’ fabric (after ironing if necessary), and lay the fleece circle on top. Cut around the edges so you have two identical-sized circles.
 Great Deal