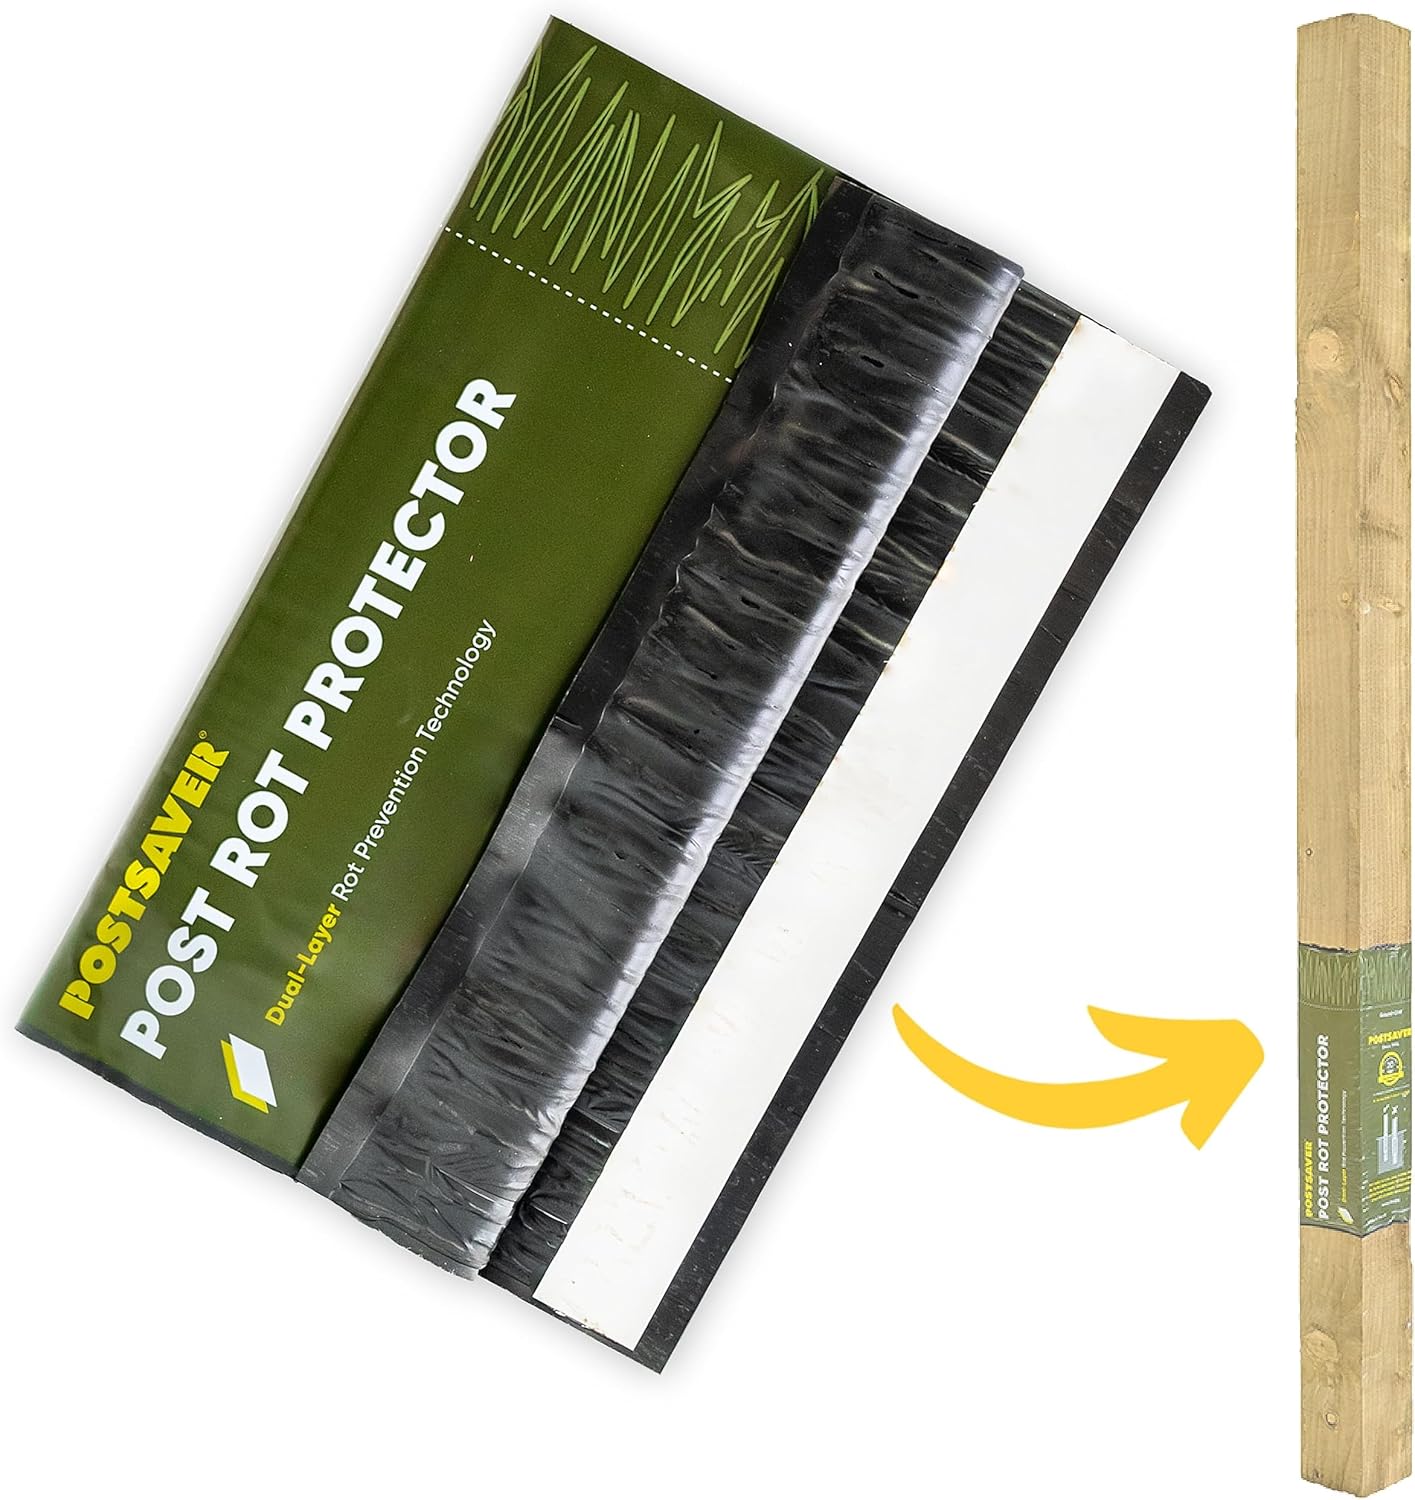
Postsaver Pro-Wrap Standard | Wood Protector for Fence Posts | Post Saver Sleeves with Dual-Layer Rot Protector | Fence Protector | Fits 3x3” to 4x4" Square and 3” to 5" Round Posts
FREE Shipping
Postsaver Pro-Wrap Standard | Wood Protector for Fence Posts | Post Saver Sleeves with Dual-Layer Rot Protector | Fence Protector | Fits 3x3” to 4x4" Square and 3” to 5" Round Posts
- Brand: Unbranded

Description
Our choice for the strongest and easiest way to join two 4×4 posts is a half-lap joint that is glued, plated, and bolted. Cutting a half lap into an existing fixed post is easier than all other cuts, except the butt joint. The two required cuts per post are simple and doable even with limited space.
Finding extenders for concrete posts may be a little tougher than other materials. Extenders for concrete posts will be made of metal, wood, or vinyl. They should look like these. They will be slotted on either side, so that fence panels will slide in and fit snugly. The best way to join two 4x4s to extend a post is with a half-lap. The simple cuts make it ideal for a beginner or pro to make, and it’s easier to do in limited space. Adding glue, plates, and bolts increases the lateral and twist resistance to form a very strong connection. The simplest way to connect two 4x4s is with a butt joint. Trim the ends to be joined so they are square and smooth. Any angle, however small, can act as a shear line, and a smooth flat surface makes for a better connection. There should be two bolt holes for each connected piece. Most Codes require 1-1/2” between the edge of the wood and bolt hole, which doesn’t leave much space to off-set fasteners on a 4×4. It comes with a 20-year post-replacement guarantee, so you can rest assured that your posts are protected for years to come.
Similar products
After fitting the pieces together, just screw them into place. 5. Place The Extender On Top Of The Post To remove this kind of removable fence post, you would need to remove any fence that is installed on it and then use two wrenches to loosen and remove the bolt. Easy to Manufacture from Readily Available Materials A hollow 10” to 24” metal pipe, 1” to 1-1/2” in diameter, inserted into a hole drilled vertically into the center of the ends of the two 4×4 to be butt joined, provides additional lateral reinforcement. The pipe is secured into the vertical holes with construction adhesive. Two 1/2″ through bolts are inserted into the top and bottom post pieces in holes bored through the wood and pipe. You should paint the extensions with the same steps that the original posts were painted, to ensure that they look as exact as possible. 8. Your Fence Is Ready For Panels You can buy extension pieces that should fit with your original posts. Finding the right type of extender will depend on the type of fence posts in your fence.
To connect the Simpson Strong-Tie (SST) or other pre-drilled plates to the 4x4s, align and level the posts with the plates and clamp everything tightly together. Some plates have a mid-line set of holes that can align with the joint and still have enough holes for screws. Off-set opposing plates by 1/2 the distance between rows of holes, that will make it easier to fasten them. Use appropriate fasteners like SST #9 x 2-1/2” structural-connector screws to attach the plates to the posts.If the original fence posts are painted then you will need to paint the extensions to match. You can do this before you attach them, but I think they are easier to paint after they are already attached. Make sure that you choose a day that is sunny and there is no rain in the upcoming forecast.
Careful and accurate measurement and cutting are needed so structural integrity isn’t compromised. Do not overcut either the vertical or horizontal cuts, or you create a shear line. There are several options for removable fence posts on the market, and one of them might well meet your needs. However, commercial options are often more expensive, more complex and have a longer lead time. So, if you just need a simple, fast solution, it’s sometimes better to manufacture it yourself. Removable Fence Post Sleeves Joining 4x4s together to extend their length can be as easy as a butt joint or as complex and elaborate as a keyed, double tenoned scarf joint. However, some cuts are better done where the timbers can be rolled easily and joints tested for alignment and fit. When working on posts under load or limited space, simpler connections are better. If your original fence posts are concrete, you will need to use that the screws specifically made for concrete that I mentioned before. You’ll also need a carbide-tipped drill bit to be able to drill holes into the concrete. 7. Paint The Extenders
For increased strength, apply construction adhesive to the cut faces and connect with 1/2″ or 5/8 inch through-bolts with washers or through the steel plates. If you are installing your fence in a high rainfall area, you can also set this baseplate on a bed of gravel that will offer better drainage and allow water that does get into the sleeve post to drain away. Similar butt joint reinforcement connections may be made using two to four biscuits inset into matching grooves cut into the ends of the 4x4s. Alternatively, cut a matching groove in the butt ends and glue in a wooden spline. Dowels, biscuits, and splines all reinforce the alignment and provide some lateral reinforcement.
- Fruugo ID: 258392218-563234582
- EAN: 764486781913
-
Sold by: Fruugo